Perfect Your Game with Pool Bridge Techniques (2024)
In a pool, the bridge is a fundamental skill, forming the foundation for every shot. The hand formation supports and guides the cue stick, playing a pivotal role in the game’s precision and control. A well-executed bridge steadies the cue and greatly influences shot accuracy and power. Mastering various pool bridge techniques is essential for players to elevate their game, as it directly impacts cue ball direction, spin, and overall gameplay effectiveness, making it a crucial aspect of any successful pool strategy.
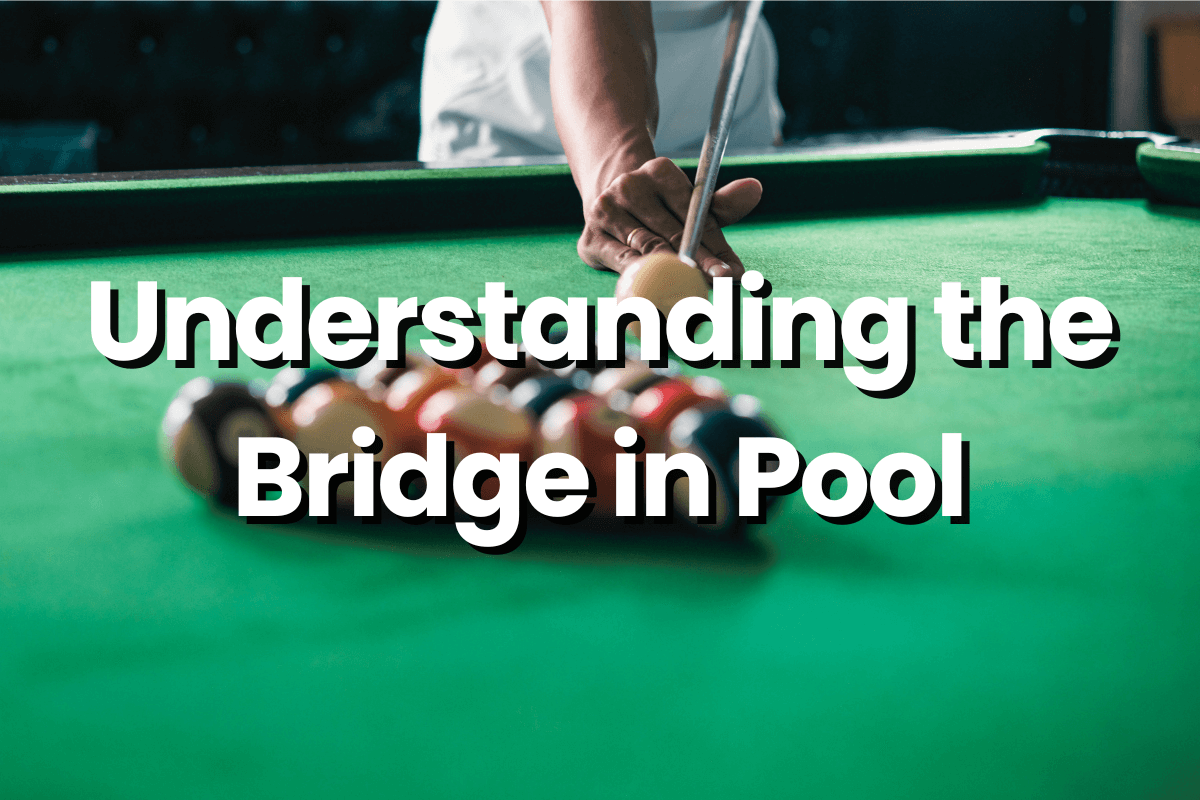
Understanding the Bridge in Pool
What is a Bridge? In the pool, the bridge refers to the hand formation used to support and guide the cue stick during a shot. It’s essential for stabilizing the cue and ensuring precise control over shot execution.
Purpose: The primary purpose of a bridge is to provide a stable, controlled platform for the cue stick, allowing for accurate and consistent shots. It’s a critical aspect of cue sports that affects aiming, force application, and spin control.
Types of Pool Bridges
1. Open Bridge
Description: An open bridge is created by laying the hand flat on the table and forming a V-shaped groove for the cue.
Step-by-Step Guide:
- Hand Placement: Place your hand flat on the pool table with fingers spread for stability.
- Thumb Position: Raise your thumb to touch the side of your index finger, forming a V-shaped groove.
- Cue Position: Rest the cue in the groove between your thumb and index finger.
- Final Adjustment: Ensure your hand is firm and stable, and the cue can glide smoothly through the groove.
2. Closed Bridge
Description: A closed bridge involves looping the index finger over the cue for a firmer grip.
Instructions:
- Hand Placement: Start by placing your hand on the table with your fingers spread.
- Forming the Loop: Bring your index finger over the cue, touching or nearly touching your thumb.
- Secure the Cue: Adjust your thumb to press against the cue, securing it in place.
- Stability Check: Ensure the bridge is stable and allows controlled movement of the cue.
3. Rail Bridge
description: The rail bridge is used when the cue ball is close to the rail.
Techniques:
- Positioning: Rest your hand on the rail with your thumb on top for stability.
- Cue Alignment: Align the cue parallel to the rail, using your thumb or fingers as a guide.
- Adjust for Comfort: Modify the grip to what feels most stable and comfortable while maintaining control of the cue.
4. Elevated Bridge
Description: Used for jump or obstructed shots, the elevated bridge lifts the cue at an angle.
Usage Guide:
- Forming the Base: Create a firm base by either making a fist or using your knuckles.
- Raising the Bridge: Elevate your hand to the desired height, keeping the base firm on the table.
- Cue Placement: Rest the cue on top of your bridge, adjusting for the required angle.
- Stability and Control: Ensure the bridge is as stable as possible to maintain control during the shot.
Fundamentals of a Strong Bridge in Pool
Key Elements of a Stable and Effective Bridge
Stable Hand Position: Your bridge hand should be firmly planted on the table, providing a solid foundation for the cue stick. Ensure your hand is relaxed yet secure.
Correct Finger Placement: Spread your fingers to create a wide base for stability. The exact positioning may vary depending on the type of bridge, but a stable finger spread is crucial in all cases.
Thumb Position: For open and closed bridges, the position of the thumb is key. It should be positioned to create a smooth groove or loop for the cue to glide through.
Consistent Cue Elevation: The cue should be level with the table or slightly elevated, depending on the shot. Consistent elevation helps in maintaining accuracy.
Smooth Glide Path: The cue stick should move smoothly through the bridge without friction or obstruction.
Flexibility and Adaptability: A good bridge adapts to different shots and situations. Practice different types of bridges to enhance your adaptability.
Common Mistakes to Avoid When Forming a Bridge
Over-Gripping: Avoid gripping the table or the cue too tightly. Tension in the bridge hand can lead to less control and accuracy.
Inconsistent Positioning: Changing your bridge position or height mid-shot can lead to inaccuracies. Maintain a consistent bridge throughout the shot.
Inadequate Support: Not spreading your fingers enough can lead to a lack of support and stability, especially for powerful shots.
Ignoring the Thumb: In an open bridge, neglecting to properly position the thumb can lead to a less stable and effective bridge.
Lack of Practice: Not practicing different bridge types can limit your ability to handle various shots. Regular practice is essential to develop a strong, versatile bridge.
Rushed Formation: Hastily forming the bridge without proper alignment can compromise shot quality. Take time to set up your bridge correctly for each shot.
Advanced Pool Bridge Techniques
Advanced pool bridge techniques are essential for executing complex shots, such as jump shots and masse shots. These techniques also require adjustments based on playing conditions and table surfaces.
Specialized Bridges for Complex Shots
Jump Shot Bridge:
- Technique: For a jump shot, an elevated bridge is used, where you form a steep angle with your hand to lift the cue stick. This can be done by either making a tight fist or using an open hand with fingers arching upwards.
- Purpose: The steep angle allows the player to strike the cue ball at a lower point, facilitating a jumping action over obstacles.
Masse Shot Bridge:
- Technique: Similar to the jump shot bridge, the masse shot requires an elevated bridge. However, the angle is even more pronounced, and the cue stick is generally held more vertically.
- Purpose: This bridge allows for extreme spins and curves on the cue ball, useful in navigating around obstacles.
Adjusting Your Bridge for Different Conditions
Table Surface Variations:
- Faster Tables: On slick or fast tables, use a lighter touch in your bridge. This adjustment helps in controlling the speed and movement of the cue ball.
- Slower Tables: On slower or more friction-heavy tables, you might need a firmer bridge and a more powerful stroke to compensate for the additional resistance.
Environmental Factors:
- Humidity: Humidity can affect the table’s playability. Adjust your bridge pressure and stroke speed accordingly to maintain control.
- Table Wear: On older or worn tables, you may need to adjust for irregularities in the cloth or cushions. This might involve altering the bridge height or the angle of your cue.
Personal Comfort and Adaptation:
- Adjusting to Comfort: Each player has unique preferences for their bridge. Experiment with slight modifications to find the most comfortable and effective position for your playing style.
- Consistent Practice: Regularly practice these advanced bridges to build muscle memory. This consistency is crucial for effectively adapting to different shots and conditions.
Conclusion
The pool bridge is a critical skill that underpins every aspect of the game, providing essential stability and accuracy for each shot. Developing a strong and versatile bridge is key to improving overall performance, enabling precise control and the execution of advanced shots. Committing to regular practice and refinement of your bridge techniques will lead to noticeable enhancements in your gameplay. Embrace this vital aspect of the pool, and see your skills and confidence grow on the table.
FAQs
How important is the bridge in improving my overall pool game?
Mastering your bridge technique is crucial for improving your pool game. It acts as a stable foundation for your cue, allowing for consistent stroke mechanics, improved accuracy, and better power transfer to the cue ball. A solid bridge leads to greater control over your shots, ultimately elevating your overall pool game and helping you become a more reliable and confident player.
Can I use the same bridge for every shot in a pool?
While you can have a preferred bridge, it’s beneficial to learn different types. Each type of bridge is suited for specific shots and situations, so versatility can enhance your play.
What’s the best way to practice my bridge technique?
Consistent practice is key. You can start by practicing your bridge without shooting, focusing on stability and comfort. Then, incorporate it into regular shooting drills to test its effectiveness under different scenarios.
How do I know if my bridge is correct or if I need to adjust it?
A correct bridge feels stable and comfortable and allows smooth movement of the cue. If you find your shots are inconsistent or the cue isn’t moving freely, it might be time to adjust your bridge. Pay attention to how each shot feels and make small adjustments as needed.
What should I do if my hand shakes while forming a bridge?
Handshaking can be due to tension or lack of stability. Try to relax your hand and spread your fingers wider for a more stable base. Consistent practice and building hand strength can also help reduce shaking over time.
Is it better to use an open or closed bridge in the pool?
The choice between an open and closed bridge depends on personal preference and the specific shot. An open bridge is generally easier for beginners and offers good visibility and control for most shots. A closed bridge provides a firmer grip, which might be beneficial for powerful shots or applying spin. Experiment with both to determine which works best for you in different situations.